4. Send a translation job from the WordPress site
This is something your client will do. The description is here so that you have the whole picture, and you will also be able to assist your client if necessary.
- Open the admin page of the WordPress site (open https://web-address/wp-admin). Sign in as an administrator of the WordPress site.
- In the menu on the left, point to WPML, and click Translation management. The Translation management page opens.
- On the Translation Dashboard tab, check the check box of each page you want to translate.
- Scroll to the bottom of the page, and click the Translate radio button for each target language you want the pages translated into.
- If you do not want to translate the page into a target language, you may either copy the source text to that target language (click Duplicate content), or leave the page empty in that target language (click Do nothing). For example, if the selected page should not be translated into French, the selector at the bottom will look like this:
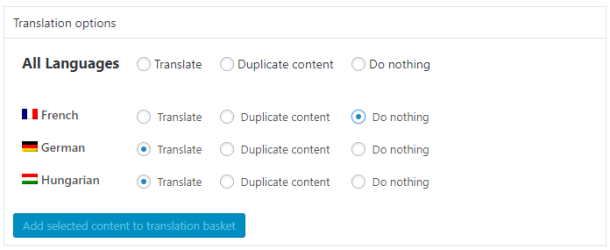
- Click Add selected content to translation basket.
- Scroll up to the top of the Translation management page. Click the Translation Basket tab.
- Go to the bottom of the page. Change the name of the batch as needed (this will be the name of the job you will see in memoQ).
- For each target language, choose a translator. If the translation must go through memoQ, choose First available (Translation Service) or Translation Service (whichever appears on the list).
- Click Send all items for translation.
Comments
0 comments
Please sign in to leave a comment.